

How to set up the Synology DS1019+ NAS
Setting up the Synology DS1019+ is straightforward, even if you've never configured a NAS before. Synology has perfected the initial setup procedure to permit you to go from unboxing to connecting to your new server in just a few minutes.
Products used in this guide
- Loftier capacity NAS: Synology DS1019+ ($641 at Amazon)
How to gear up upward your new NAS
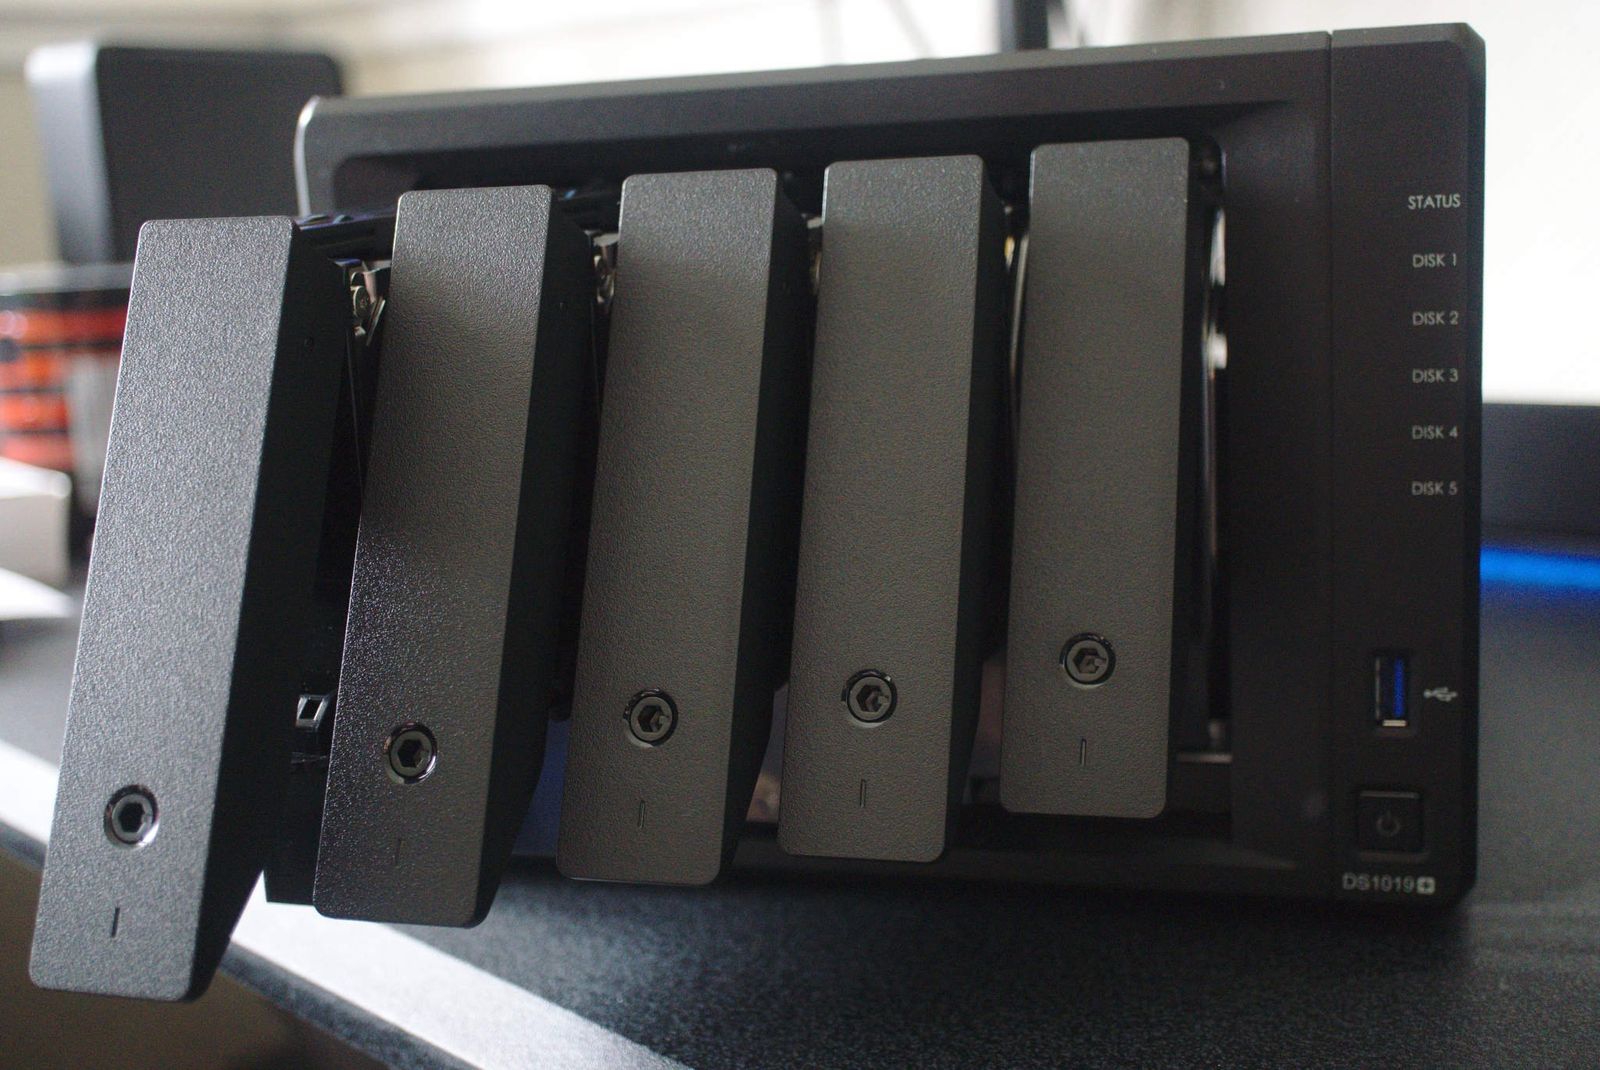
Depending on how you the DS1019+ was purchased, yous may not have to do annihilation aside from plugging the unit of measurement into an available outlet and hooking information technology up to a router. If you've received a diskless configuration, which means there aren't any pre-installed hard drives, you'll need to remove the two trays and install the drives. Luckily, this is a simple process that requires no tools at all.
- Use the included central to unlock each drive tray.
-
Take the drive tray out of the unit by turning the cardinal and pulling.
- Remove the two side panels.
- Insert the hard drive into the tray.
- Re-attach the two side panels to secure the bulldoze.
- Slide the tray back into the unit.
- Lock the tray with the primal.

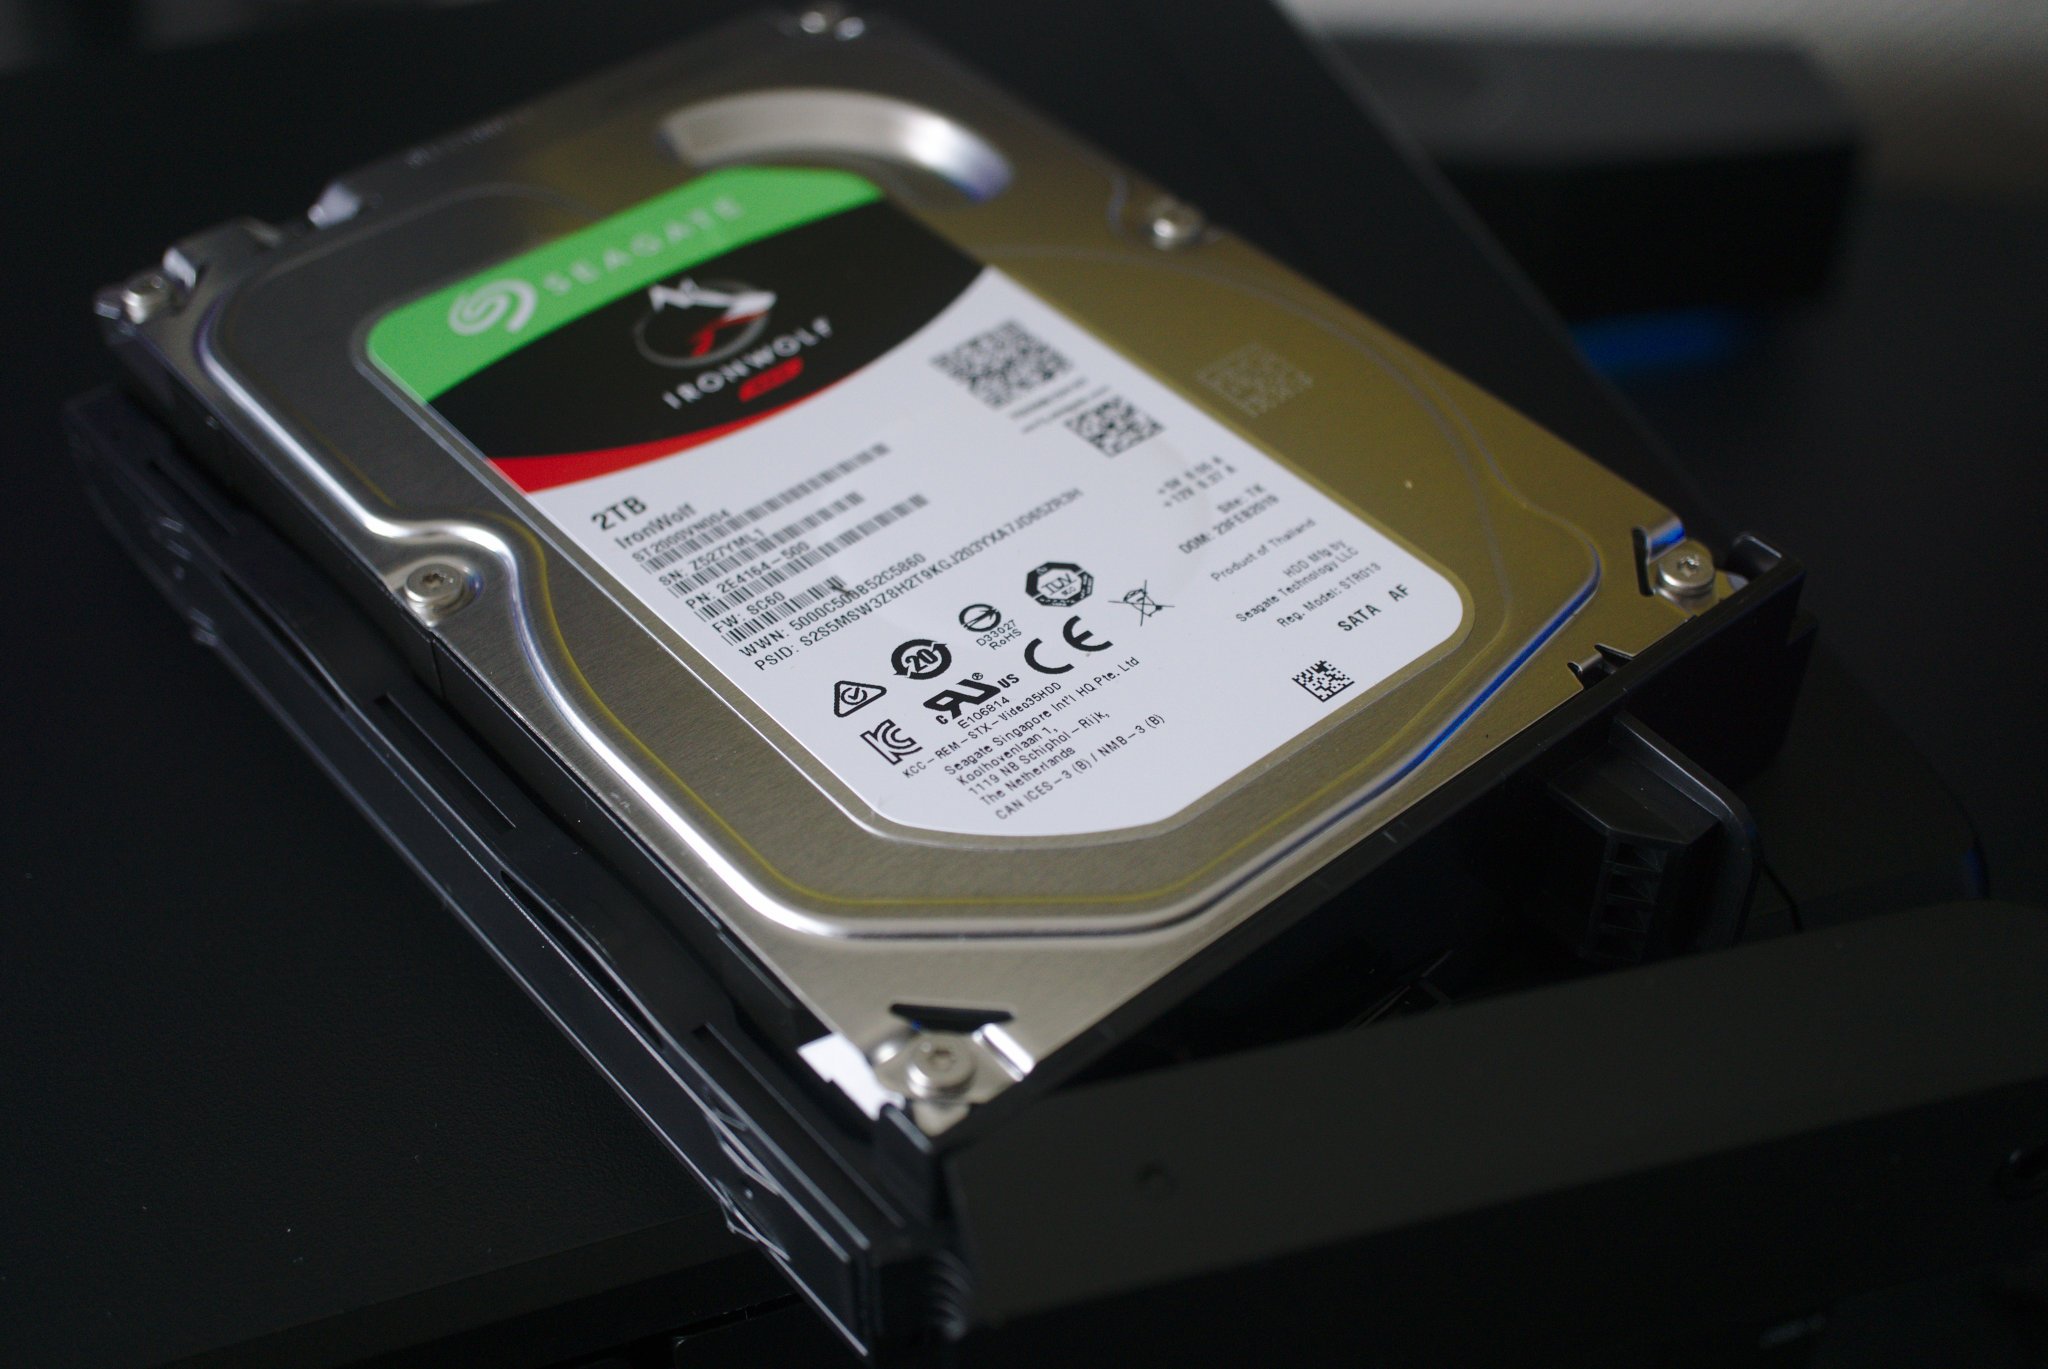
The process of installing 2.5-inch SSDs and laptop drives is the same, except you'll demand to screw them to the base of the tray. If you're struggling to decide on which difficult drives to go for, nosotros have you covered.
How to pick the best difficult drives for your NAS

Leading brands in the storage business organization have enhanced disk drives specifically designed for NAS installations, like the Seagate IronWolf and Western Digital Cherry-red. We highlight 4TB drives in this collection due to the recommendation of running NAS drives in RAID configurations, guaranteeing you 4TB of capacity.
Best difficult drives for your NAS
And you're washed. That's all that is required to install the hard drive. Only echo the process for additional trophy to make full the NAS with as much chapters as required. Subsequently you lot have the DS1019+ plugged into the outlet and router, with difficult drives installed, information technology'south time to become started with the software.
Setting up DSM Bone

Later on turning on the DiskStation and allowing the OS to boot upward and check everything over (you should hear a beep once it'southward washed), it's time to connect to the NAS and ready everything up. This can be achieved by entering 1 of the post-obit into your favorite web browser: discover.synology.com or diskstation:5000
If neither works, you lot can download the Synology Assistant, which should automatically discover and list the DS1019+. You tin can then quickly access it through your browser from here, which volition nowadays you with the initial setup sorcerer. If, for some reason, you quit the wizard before you consummate all the steps, simply log into the DiskStation Manager (DSM) with the username admin, and a bare password.
-
Click Set up.
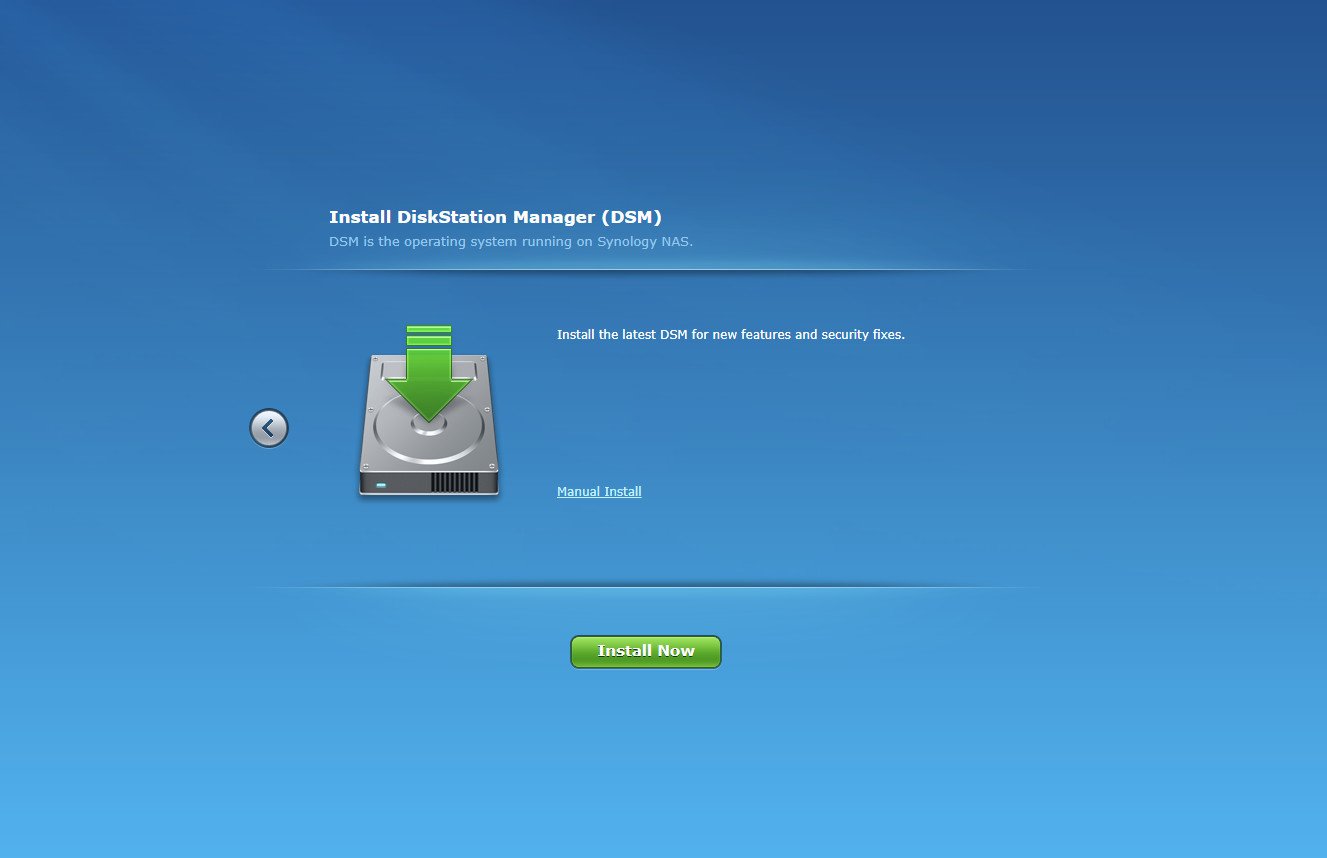
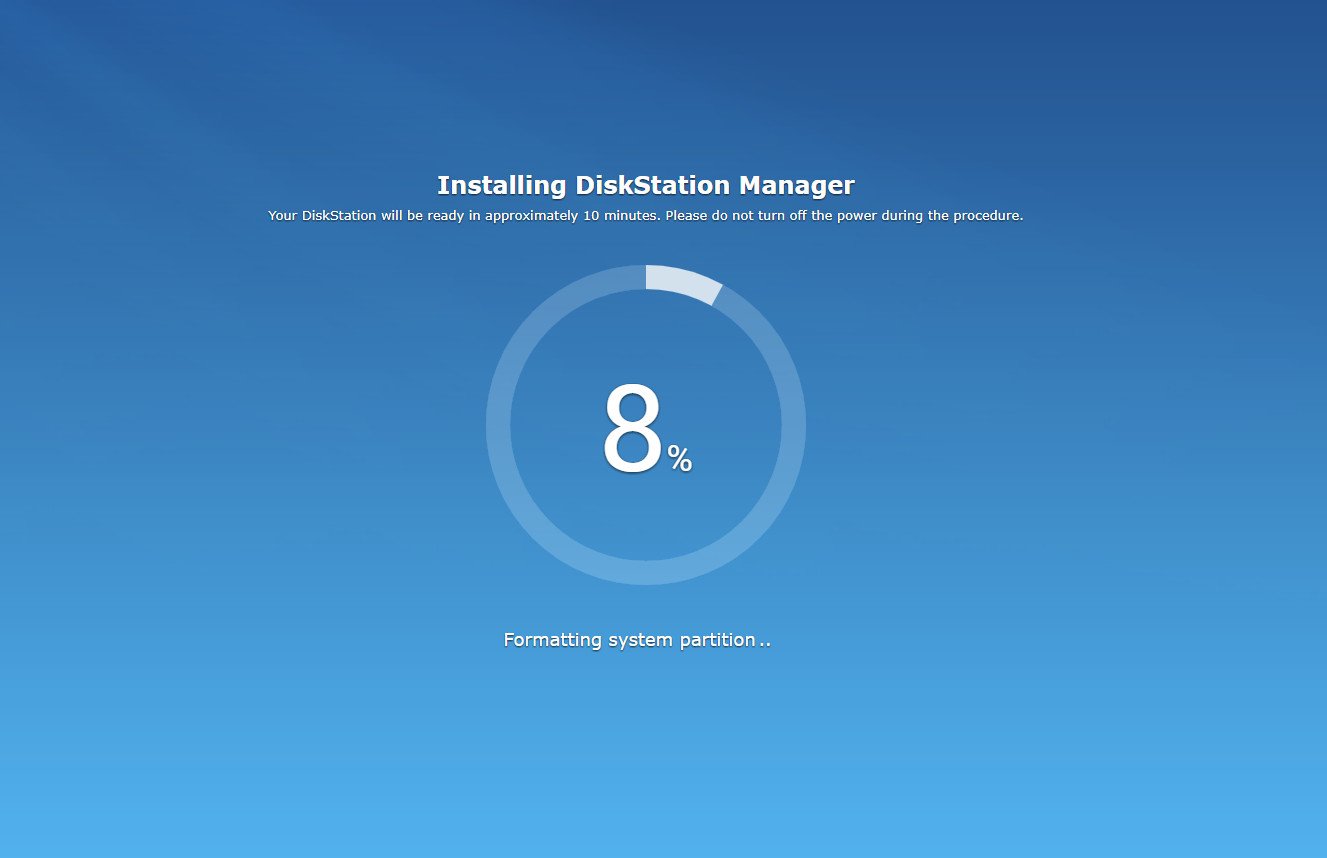
- Click Install At present.
-
Wait for the installer to stop. The NAS will reboot; you must leave the folio open through the whole process.
- Enter your setup details details:
- Server name: Whatever y'all wish for the server to exist chosen.
- Username: Give yourself a username.
- Password: Self-explanatory.
-
Hit Side by side twice.
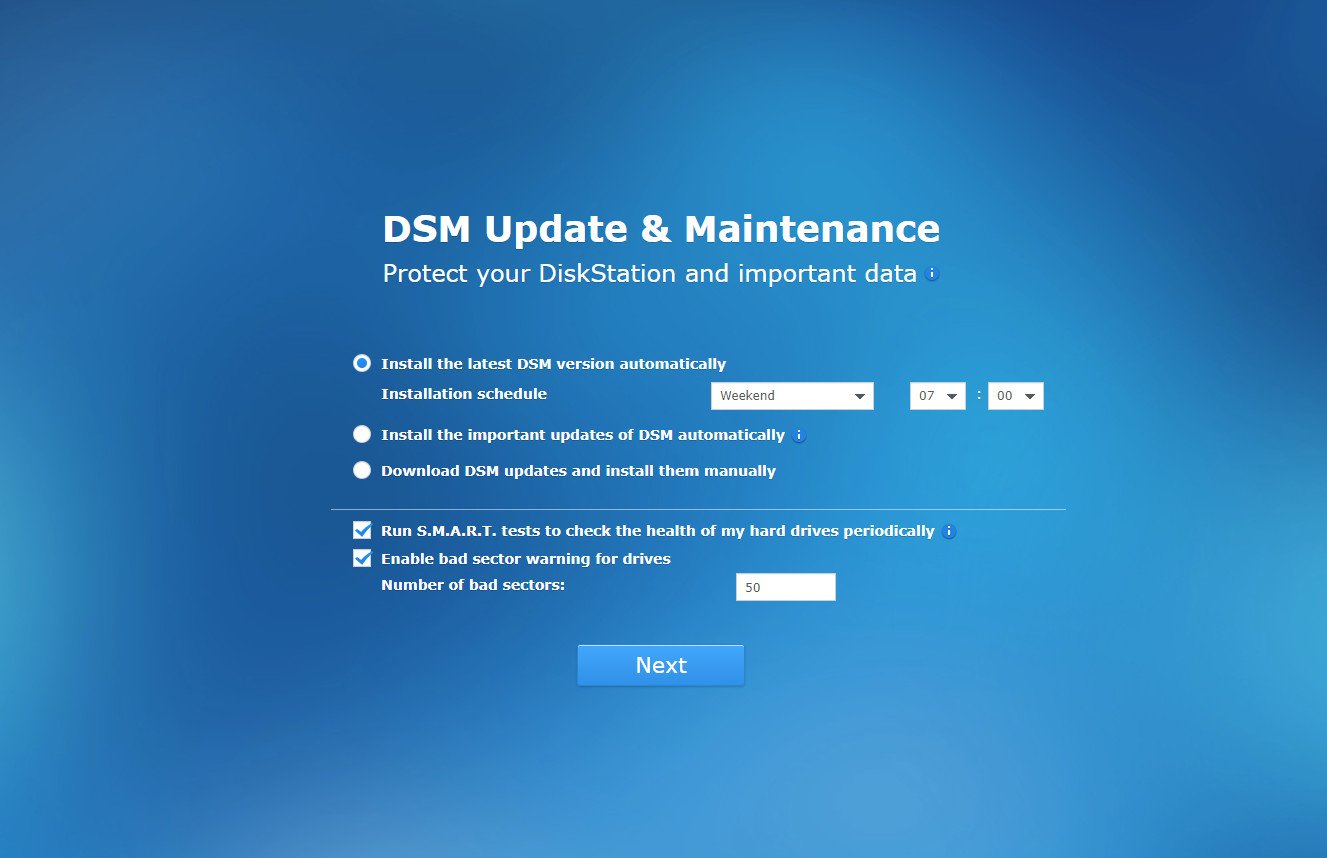
- Select how DSM will install updates.
- Go out the Southward.K.A.R.T and bad sector warnings enabled.
-
Hit Next.
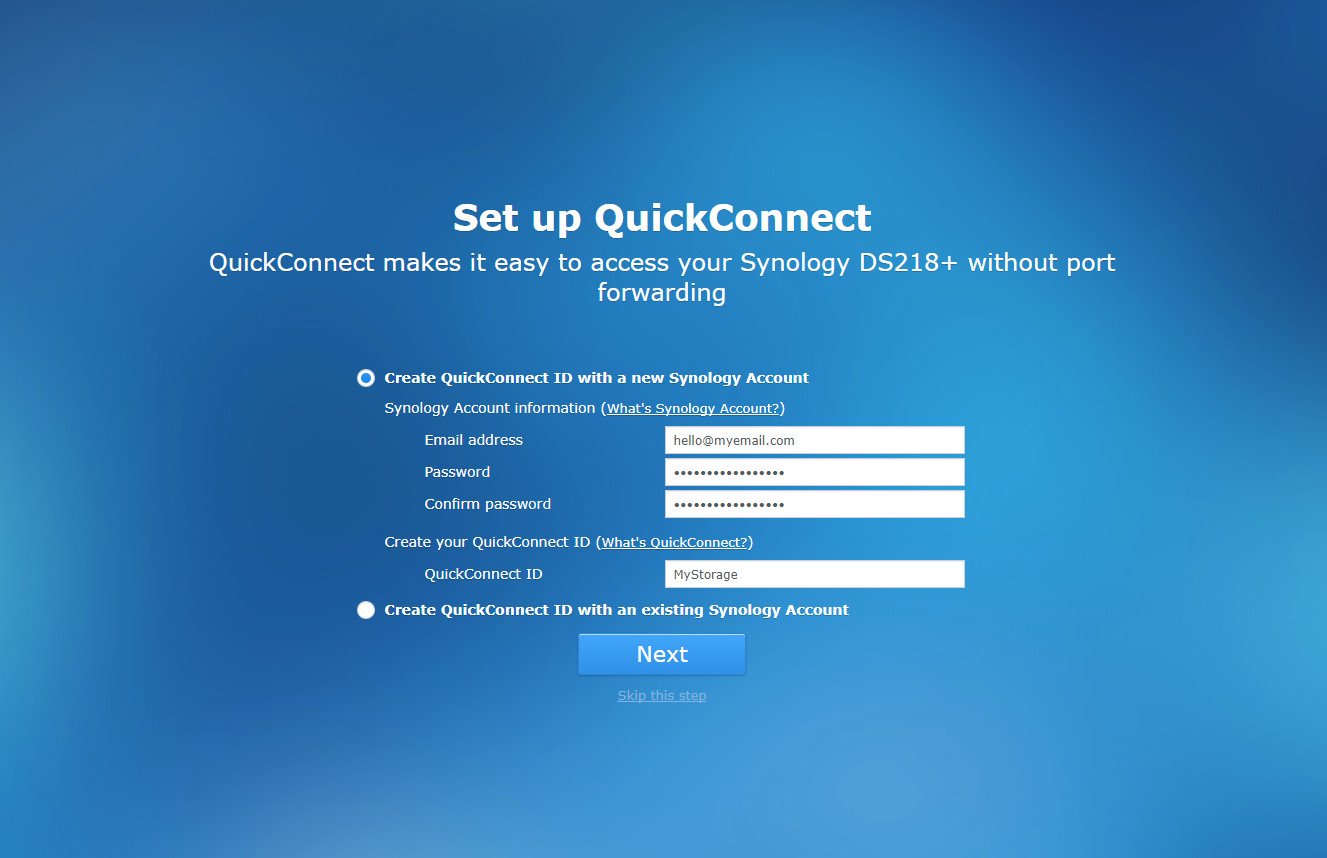
- Configure QuickConnect, which allows you to create a Synology account and connect to your NAS without messing with router settings (and when away from abode).
- Re-create down your new QuickConnect URL (and activate your Synology account if creating i).
- Hit Next.
- Hitting Become to consummate the magician.


You'll now be on the main DSM OS view. This is where you lot tin can easily configure the NAS and install updates, packages, manage files, run across how everything is ready, and more. The DSM assistance manager will run yous through a few tips to get you started. Should you require further assistance, simply open up the aid director and exercise some searching. Spend a skilful hr playing effectually with various options to get accustomed to the DSM interface.
Think of DSM like Windows, but for your NAS instead of a laptop or desktop PC.
Mapping for Windows

In Windows, yous tin can map the NAS location to a specific drive alphabetic character so it appears in Windows Explorer as an internal hard drive. Here's how:
- Open up Explorer.
- Correct-click on This PC.
- Click on Map network drive....
- Choose a drive letter.
- Hitting Browse.
- Browse to the network location.
- Click Ok.
- Click Cease.
Now a virtual drive will appear in Explorer, assuasive for more convenient access. This tin also exist achieved using Synology Assistant, which makes the whole process a little easier.
Helpful tips

- The eSATA port can exist used to connect an external bulldoze to the NAS.
- Install one or two NVMe SSDs to use as a enshroud for faster NAS performance.
- The QuickConnect will let you quickly access the NAS without needing to mess with your router.
Our acme equipment picks
You're going to need a Synology DS1019+ NAS in order to follow the steps in this guide.
Premium NAS

Synology DS1019+
An about perfect five-bay NAS
Synology took everything that made the DS918+ so good and added an additional bay, more RAM out the box, and fifty-fifty more features to make it an splendid NAS for anyone who requires ample amounts of storage.
The DS1019+ packs everything that makes a Synology NAS so like shooting fish in a barrel and great to use. It's let down by the lack of 10 GbE and not really offering much more than the DS918+ compared to the cost hike, but overall, it'south yet another killer NAS for the catalog. The user experience and exceptional DSM Os is partly the reason why the DS1019+ held up so well in our in-depth review.
We may earn a committee for purchases using our links. Acquire more.

Store all the things
You lot Accept to use these difficult drives for the ASUSTOR AS5304T NAS
The ASUSTOR AS5304T is a great NAS for homeowners, small offices and gamers. What makes it a compelling NAS to own is the 4-bay setup, capable Intel processor, and killer Os. Nonetheless, you demand to use the best hard drives to get the most out of this server.

Source: https://www.windowscentral.com/how-set-synology-ds1019-nas
Posted by: hollingsworthageres.blogspot.com
0 Response to "How to set up the Synology DS1019+ NAS"
Post a Comment